
The use of 3D structures in the design of pop-up books is a unique tool that fosters engagement in reading. Within the scientific community, researchers have found a use for these same fabrication techniques in the development of new technologies. We discuss these “pop-up” techniques and how they have shifted from libraries to research labs.
Bringing Books to Life with Visuals that Pop
There are many things that can contribute to making a story come to life — compelling characters, exciting adventures, or simply great storytelling. For many children, the use of 3D techniques in pop-up books is a great way to bring animation and excitement to reading. Just ask TIME Magazine, who in 2011 listed pop-up books as one of the 100 most influential toys from 1923 to date.
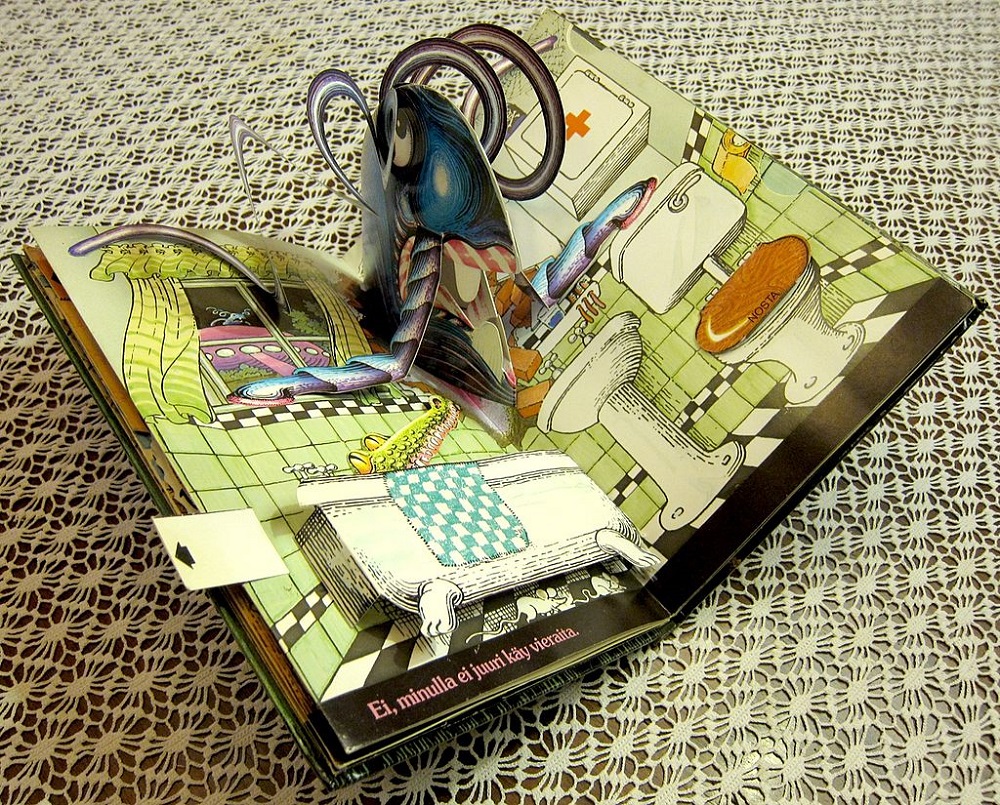
A children’s pop-up book.
As a child, I can recall reading many of these books over and over, continuously immersed in their visual design elements. While the artistry behind these books is often appreciated, the principles guiding their creation have notable significance as well, inspiring the development of new scientific technologies.
Before diving into their role within these technologies, let’s first begin with an overview of how pop-up books are created.
The Engineering Principles Behind Children’s Pop-Up Books
The design and creation of pop-up books is an intricate process. Like other reading materials, this type of book requires a design that can withstand repeated use. However, there is the added element of arranging paper planes in a way that establishes the right volume and perspective, enabling the shapes to jump quickly off the page and surprise the reader.
Often referred to as paper engineering in the arts, the development of a pop-up book begins with 2D sketches. A paper engineer folds, cuts, and pastes the elements that (s)he has created by hand, highlighting the way in which these different components will work together to create the “pop-up” effect.
Once the prototype is approved and the layout is created, the prototype’s pieces are scanned and used to develop digital patterns for die cutting, a shaping process that uses a metal die to cut a material. The desired shapes are created for the movable elements of the book and are often cut, folded, and glued by hand onto the printed pages. Finally, a cover is glued or sewn to the book’s lining before it is packaged and sent to the distributor.
How to Create a Pop-Up Book
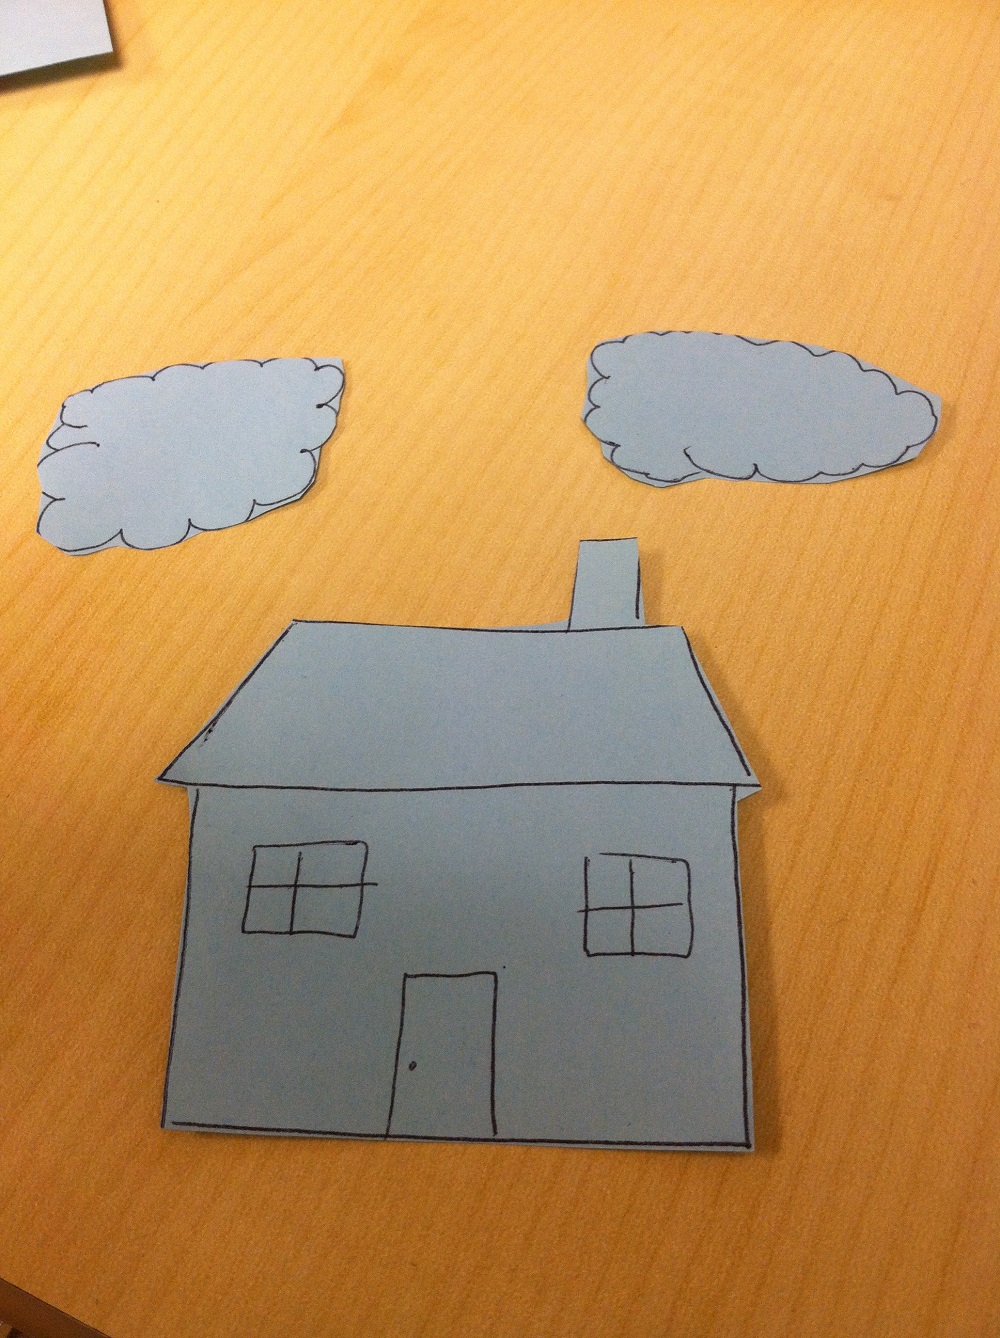
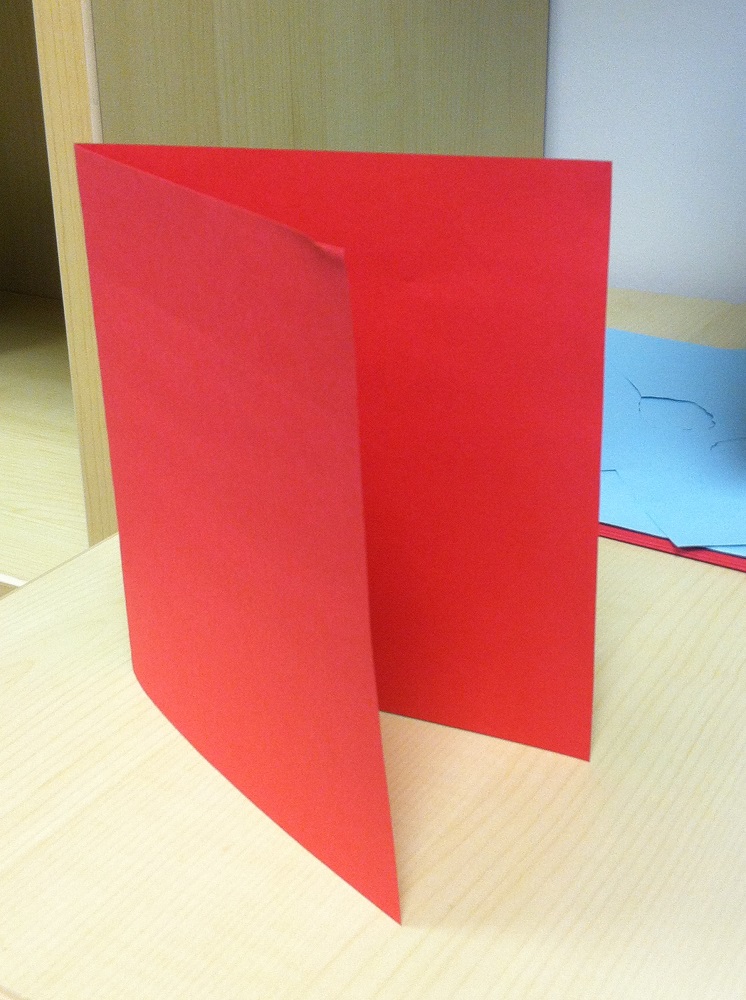
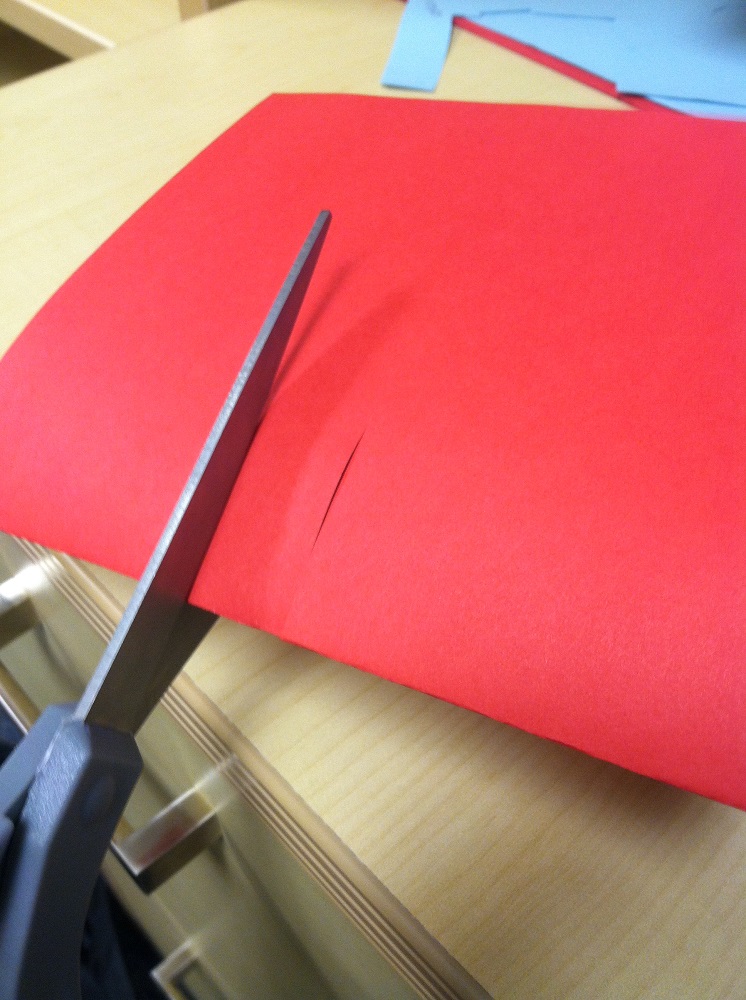
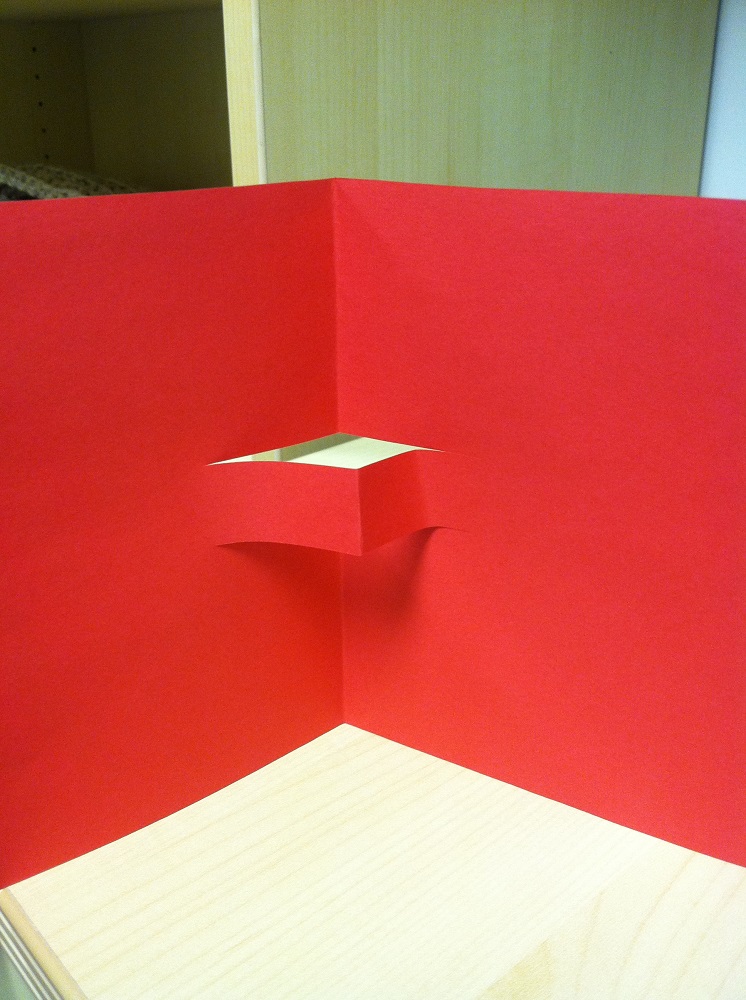
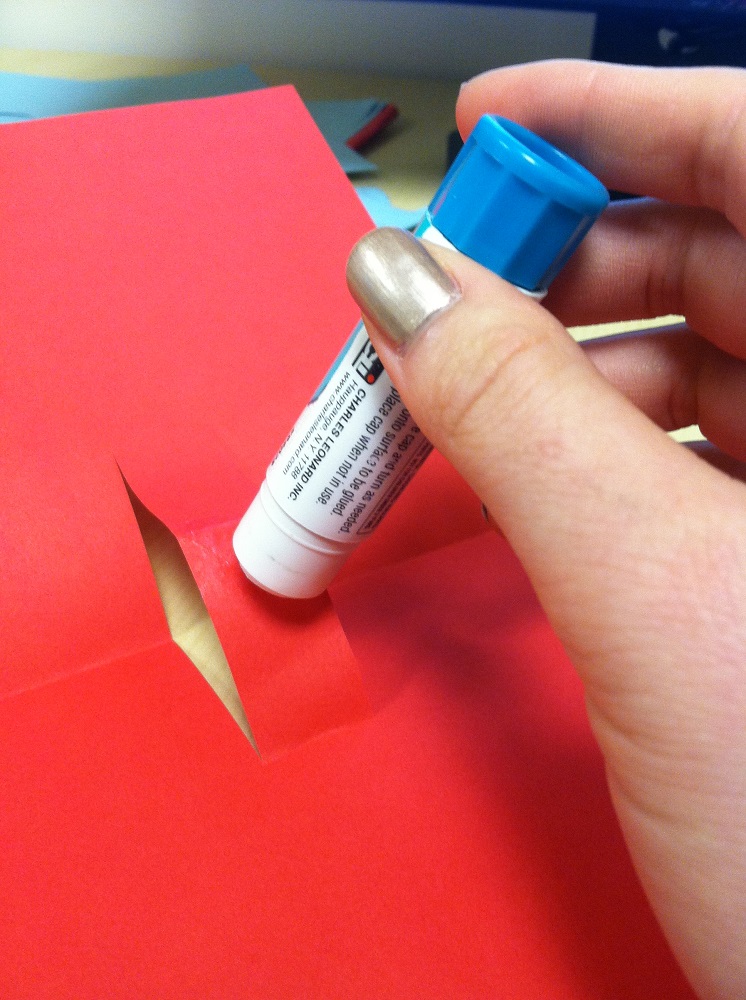
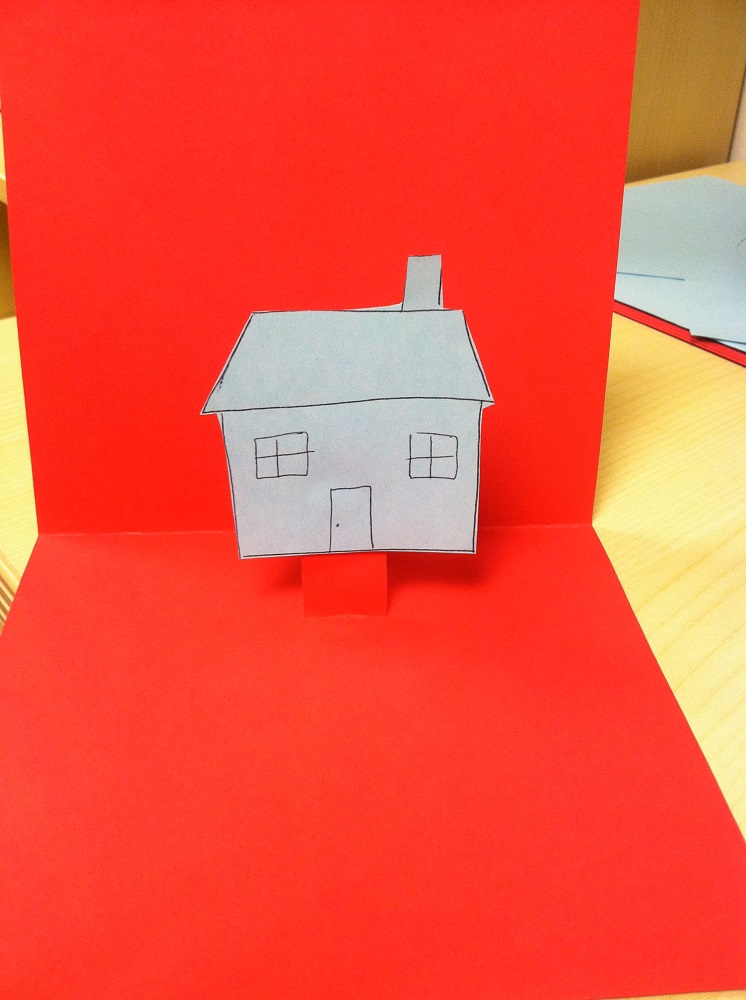
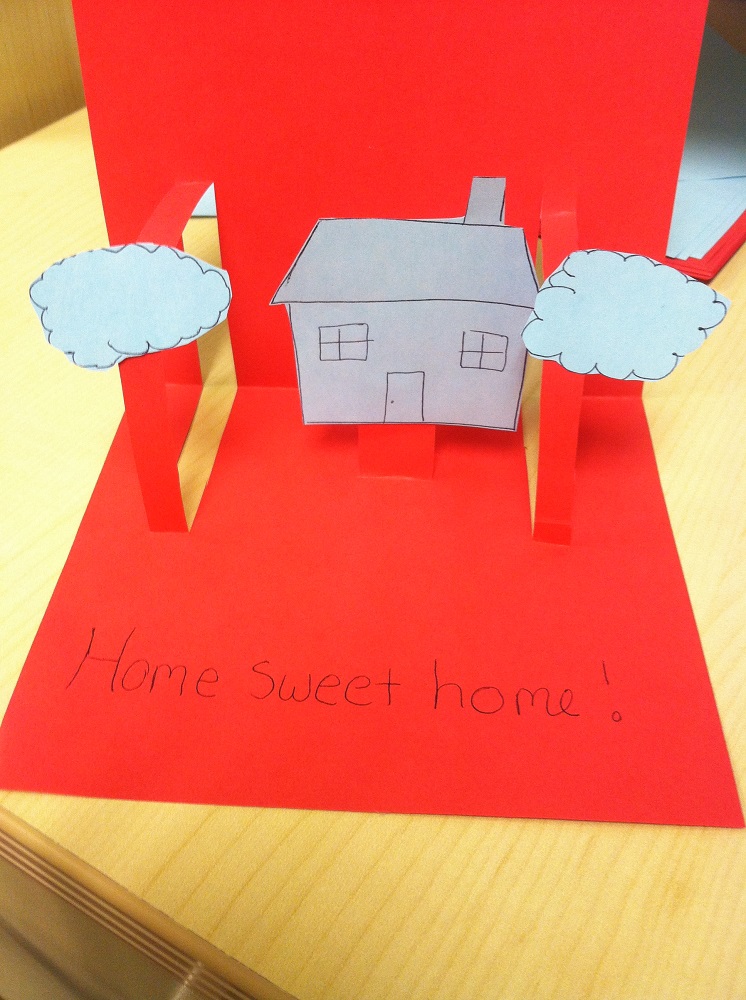
Why not take this fabrication technique into our own hands? To get a better feel for what goes into the makings of this 3D design, I created my own pop-up book. I documented the process to share with you. Feel free to follow along and create your own…
You’ll first want to gather the necessary supplies. I recommend using a thicker type of paper, such as construction paper or cardstock, for both your illustrations and the background page.
Applying Pop-Up Fabrication Techniques Within New Technologies
What begins as a 2D surface expands, when prompted, into a 3D surface. This is the same mechanical principle that researchers at the University of Illinois at Urbana-Champaign have implemented within their process for turning 2D micro- and nanostructures into extended 3D layouts.
Many existing methods for creating 3D structures can be quite limited in the types of materials that can be used as well as the kinds of geometries that can be produced. This new pop-up fabrication technique not only offers great variety in the types of materials that can be used (including silicon), but it also enables the design of numerous geometries. Examples include flower, table, peacock, and tent geometries.
The fabrication process begins with printing a 2D structure on a stretched elastic material that features selected bonding points. As the tension is released from the material, it returns to its original shape, causing buckling that lifts the weakly bonded areas of the 2D structure off of the surface. This leaves us with a 3D structure. Noted as both fast and inexpensive, this pop-up technique has potential use in the development of electronics, biomedical devices, and sensors.
This is not the first instance of applying such a technique to the development of new technology. A research robotics team at Harvard University was inspired by pop-up books in their design of the RoboBee, a project aimed at creating tiny flying robots for uses such as search and rescue and artificial pollination.
The RoboBee’s small size presented challenges as engineers had to find a way to build the miniature robot without using elements that weren’t viable on the microscale (e.g., rotary motors, gears, nuts, and bolts). To address this, the team established a new technique in which they laser-cut designs from flat sheets, layered them, and sandwiched them within a thin, flat plate. Flexible hinges within the structure enabled the 3D structure to assemble in one movement, similar to the mechanism of a pop-up book. Along with allowing the rapid production of prototypes, this fabrication process also offered greater accuracy than previous manual methods and enabled the use of a larger range of materials.



Comments (0)