
Quite often we get asked the question “can I 3D print my COMSOL model?” Well, as of version 4.3b, the answer is “yes!” This is because it is now possible to export geometries and meshes as STL files, which is one of the standard file formats for 3D printing. This allows for rapid prototyping of designs; there is no need to outsource parts to machine shops. It is quite remarkable that you could conceive, simulate, optimize, and prototype a design using only COMSOL Multiphysics and a 3D printer. As 3D printing technology improves, it may also be possible to efficiently and cost-effectively manufacture your design. Here, I will demonstrate how you can 3D print COMSOL models, with a video and written instructions.
The STL File Format
STL (Stereolithography, or Standard Tessellation Language) is a file format developed in the late 80’s by 3D Systems to facilitate the prototyping of designs created using computer-aided design software. The file format represents three dimensional geometric entities as triangulated surfaces in a Cartesian coordinate system. Scale, color, and material property information are not stored in the file. Color printing of STL files is hence only possible if the color information is added after the design has been imported into the software that connects to the 3D printer.
Video on How to 3D Print COMSOL Models
Written Instructions for 3D Printing a COMSOL Model
Opening the Model
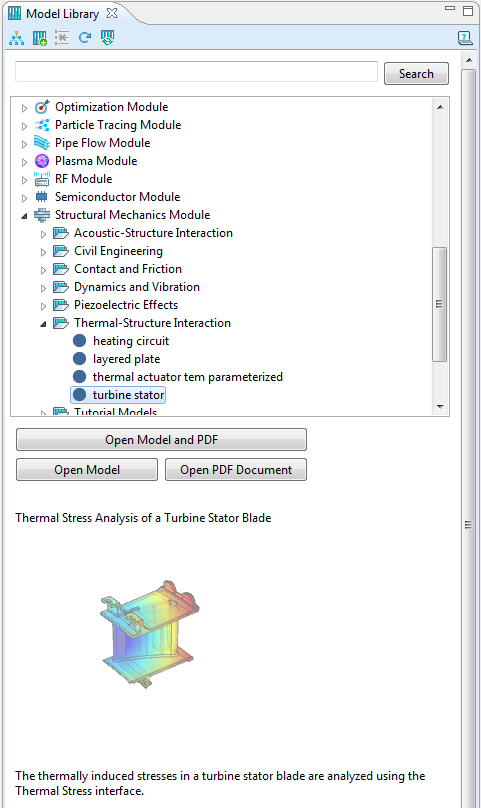
In this example I will print the model that computes the thermally-induced stresses in a turbine stator blade. The model is available in the Structural Mechanics Module Model Library, but the process by which you can 3D print is the same regardless of the model. In the Model Library tab, select the model Structural Mechanics Module>Thermal-Structure Interaction>turbine_stator and click the Open Model button.
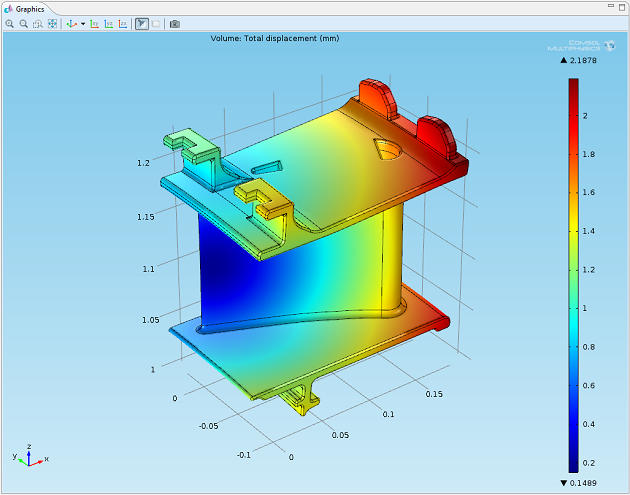
When the model is opened, the default view is a plot of the displacement induced by the thermal stresses.
Exporting the Geometry
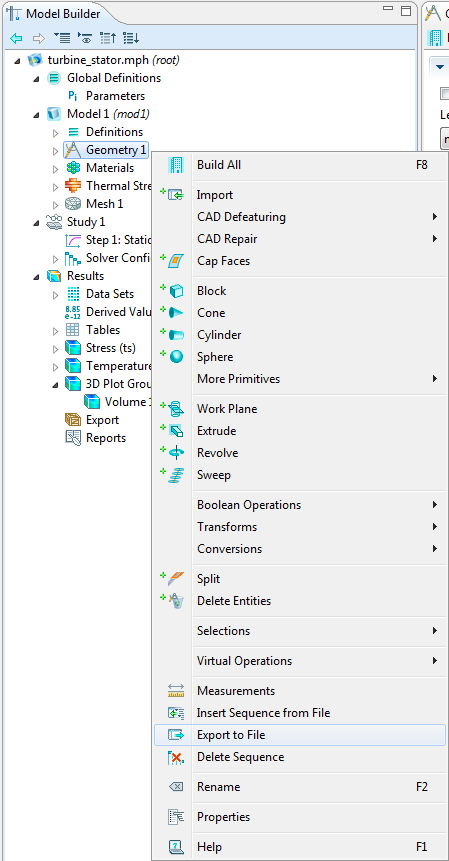
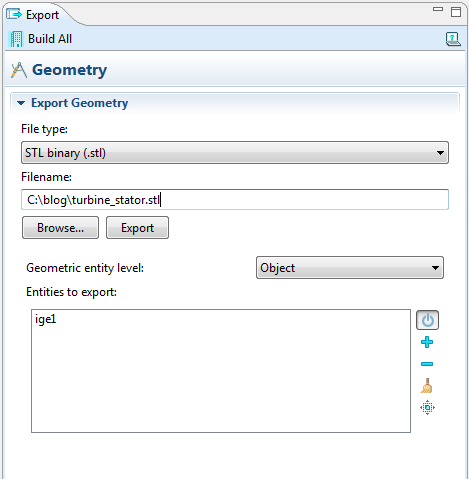
There are two ways you can export the geometry for printing. The first way is to go to the Geometry node in the Model Builder, right-click, and select Export to File.
As discussed above, the standard geometry representation for 3D printing is the STL file. In the Export Geometry section, set the File type to STL binary (.stl).
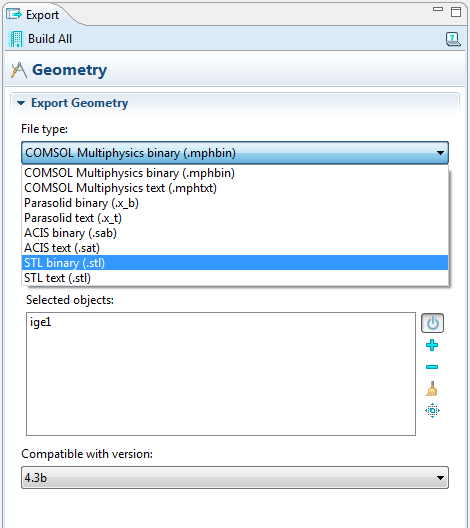
Next, enter a file name for the STL file and click the Export button.
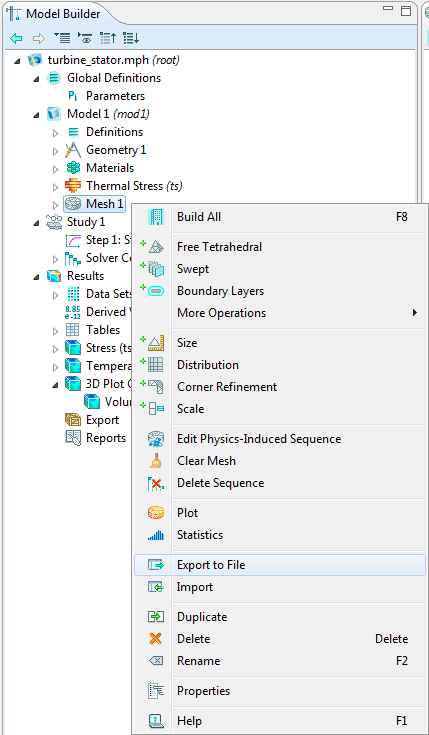
An alternative method of exporting the geometry for printing is to export the mesh as an STL file. In general, this will result in a larger file size that may be harder to import into the software that comes with the 3D printer. In this case, go to the Mesh node in the Model Builder. Right-click, and choose Export to File.
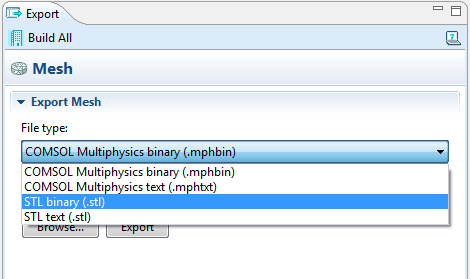
As before, set the File type to STL binary (.stl).
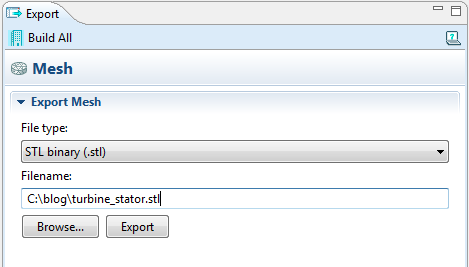
Next, enter a file name for the STL file and click the Export button.
Printing the Model
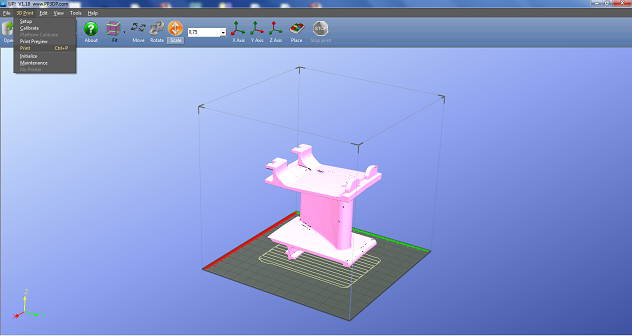
All that remains is to open the STL file in the software that comes with your 3D printer. The software should be able to align and scale the STL file so it fits within the feasible printing area.
Finally, select Print!
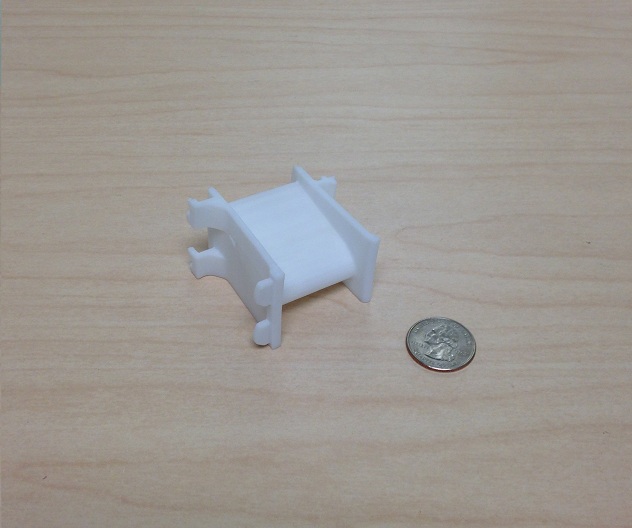
Above is a picture of the physical turbine stator we printed. This specific model took around an hour to print.
Considerations for 3D Printing
There are some additional details to keep in mind when 3D printing:
- If you are printing a single solid object, internal boundaries should be deleted from the geometry. Otherwise, the printer will insert a small gap where the interior boundaries are present.
- Larger assemblies can be constructed by printing individual parts one at a time.
- Exporting the mesh and printing may give slightly different results compared to exporting the geometry.
- You can also export the deformed mesh resulting from a model including the Moving Mesh interface. To do this, use the Remesh Deformed Configuration option which is available for the Solution data set. This creates an additional mesh in the Mesh node which you can export as an STL file.
Contest: Submit Your Own 3D Printed Model
Now that you know how to 3D print your COMSOL models, why don’t you try it out? Once you have printed your model, take a photo of it, and submit it to 3dprint@comsol.com for a chance to be featured in a future blog post.



Comments (1)
Jaramogi Khalfani Adofo Odhiambo
January 20, 2021Thanks for the elaborate explanation
Though the procedure was quite different with my version 5.4, I used the Geometry toolbar and successfully exported the file